Master the Crochet Ridge Stitch: Add Beautiful Texture to Your Projects!
When you purchase through links on my site, I may earn an affiliate commission. Here’s how it works.

Add a bit of texture to your crochet with this simple technique. The Crochet Ridge Stitch (also known as the “Almond Ridge Stitch” or “Royal Ridge Stitch” depending on the variation) is a fantastic technique that creates beautiful, defined horizontal ridges in your fabric. It’s perfect for blankets, scarves, dishcloths, and anything else where you want both visual interest and a lovely, tactile feel.
The best part? It’s much simpler than it looks! These tutorials will guide you through the process, even if you’re an advanced beginner.

Master the Crochet Ridge Stitch: Add Beautiful Texture to Your Projects!
What You’ll Need
- Yarn: Any weight of yarn will work, but for practicing, a worsted-weight yarn is often a great choice as it’s easy to see your stitches. The recommended hook size for your chosen yarn can usually be found on its label.
- Crochet Hook: Choose a hook size that complements your yarn (check the yarn label for suggestions). If you tend to crochet tightly, consider going up a hook size or two to ensure your stitches aren’t too stiff.
Ridge Stitches are a great way to create texture in your crochet project. When you work ridge stitches, you work into a different loop of the stitch than you do when you crochet basic crochet stitches. Normally when we crochet, we work under the Front and Back Loops (the “v” of the stitch).
Key Crochet Terms (US Terms)
Before we dive in, let’s refresh some basic crochet abbreviations:
- ch: Chain
- st(s): Stitch(es)
- sl st: Slip Stitch
- hdc: Half Double Crochet
- BLO: Back Loop Only (this is crucial for creating the ridges!)
- Back Bar (third loop)
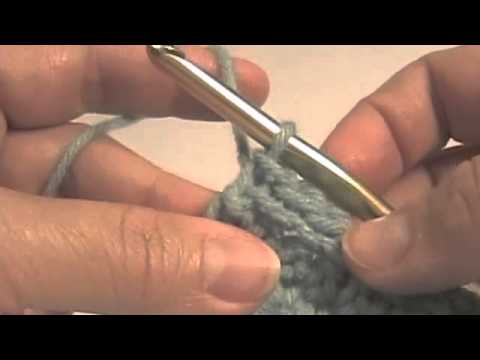
Understanding the Back Loop Only (BLO)
The secret to those beautiful ridges lies in working into the back loop only (BLO). When you look at the top of a crochet stitch, you’ll see two loops that resemble a “V” shape. The loop closest to you is the front loop (FLO), and the loop furthest from you is the back loop (BLO). Learn more basic stitch anatomy here.
For some ridge stitches, you’ll be inserting your hook under only the back loop, leaving the front loop unworked. This unworked front loop is what creates the lovely horizontal ridge!
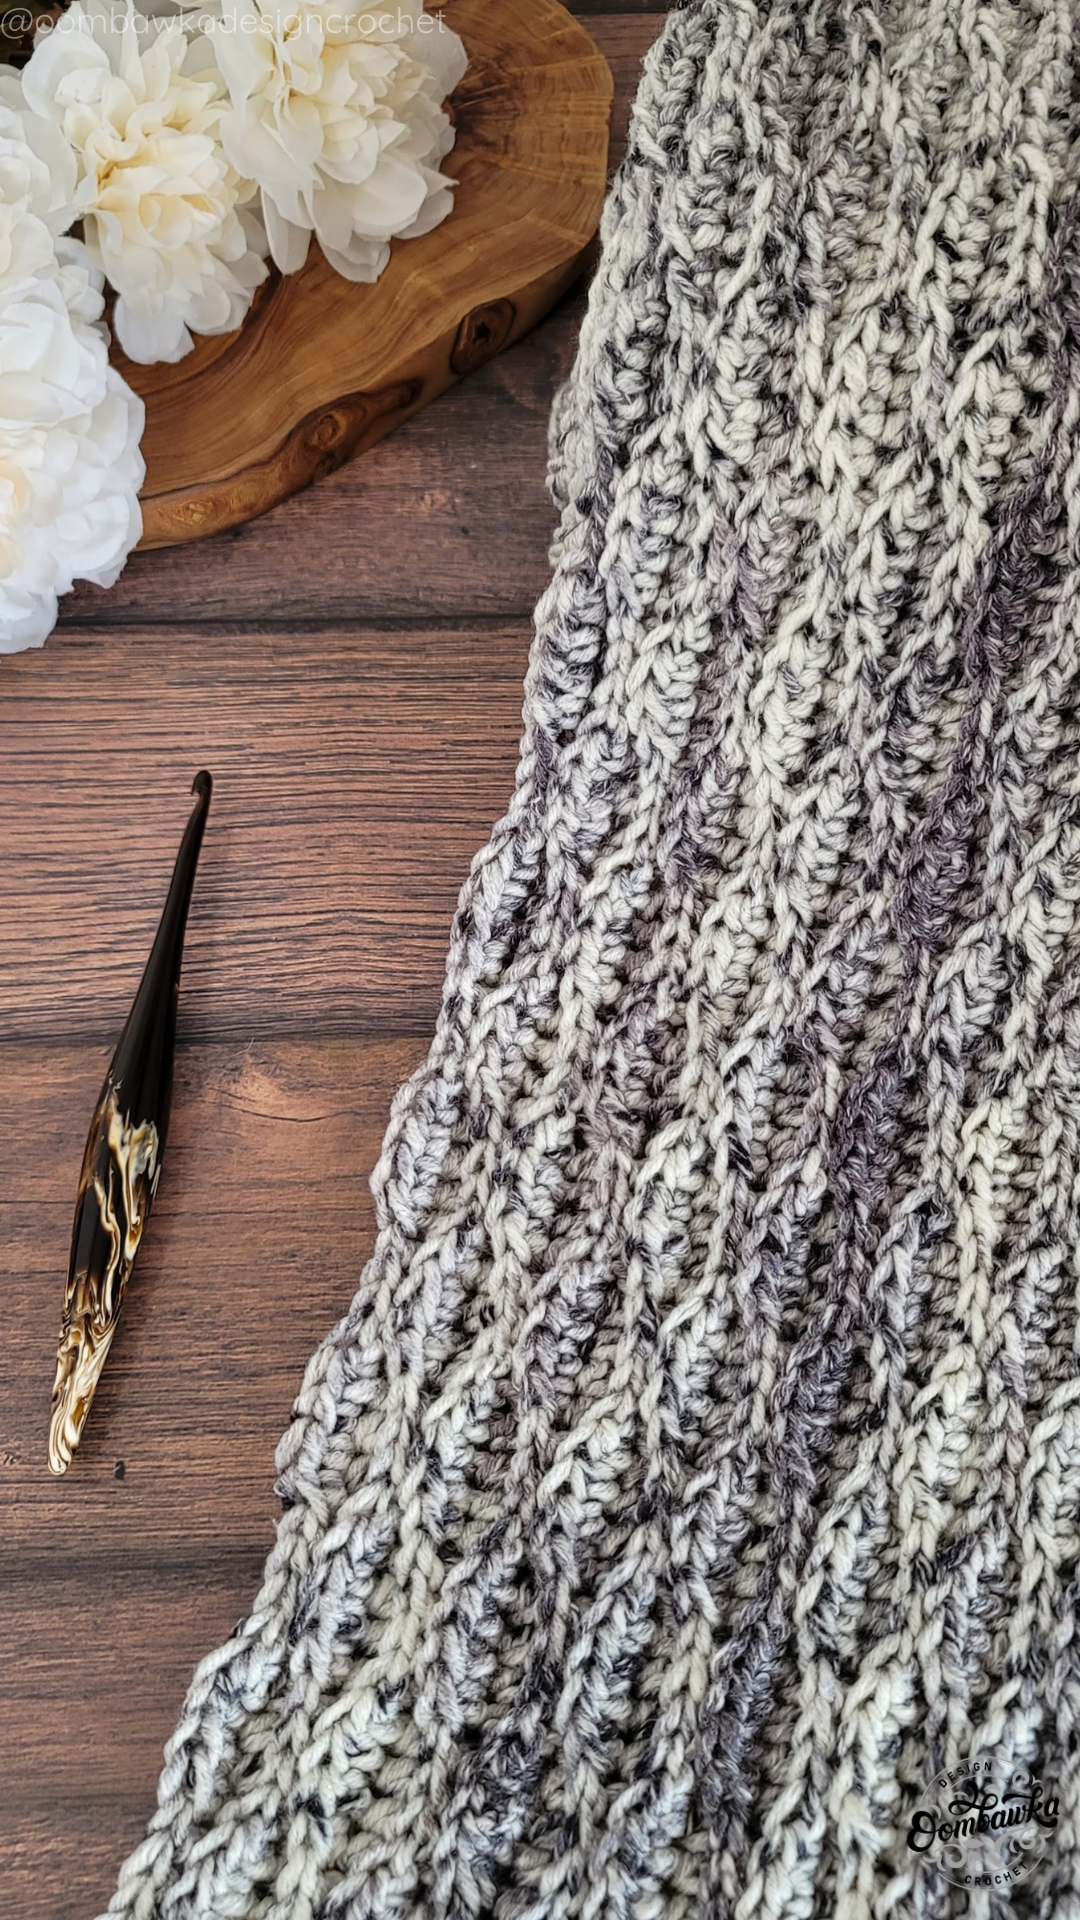
Pattern (free): Almond Ridge Stitch Scarf
Understanding The Back Bar or Third Loop
For some ridge stitches, you’ll be inserting your hook under only the back bar of the stitch. This is sometimes called the 3rd loop. It can be found immediately below the back loop on the wrong side of your project (the side not facing you). By working under the back bar (or ridge) you create knit like stitches on the opposite side of the fabric.
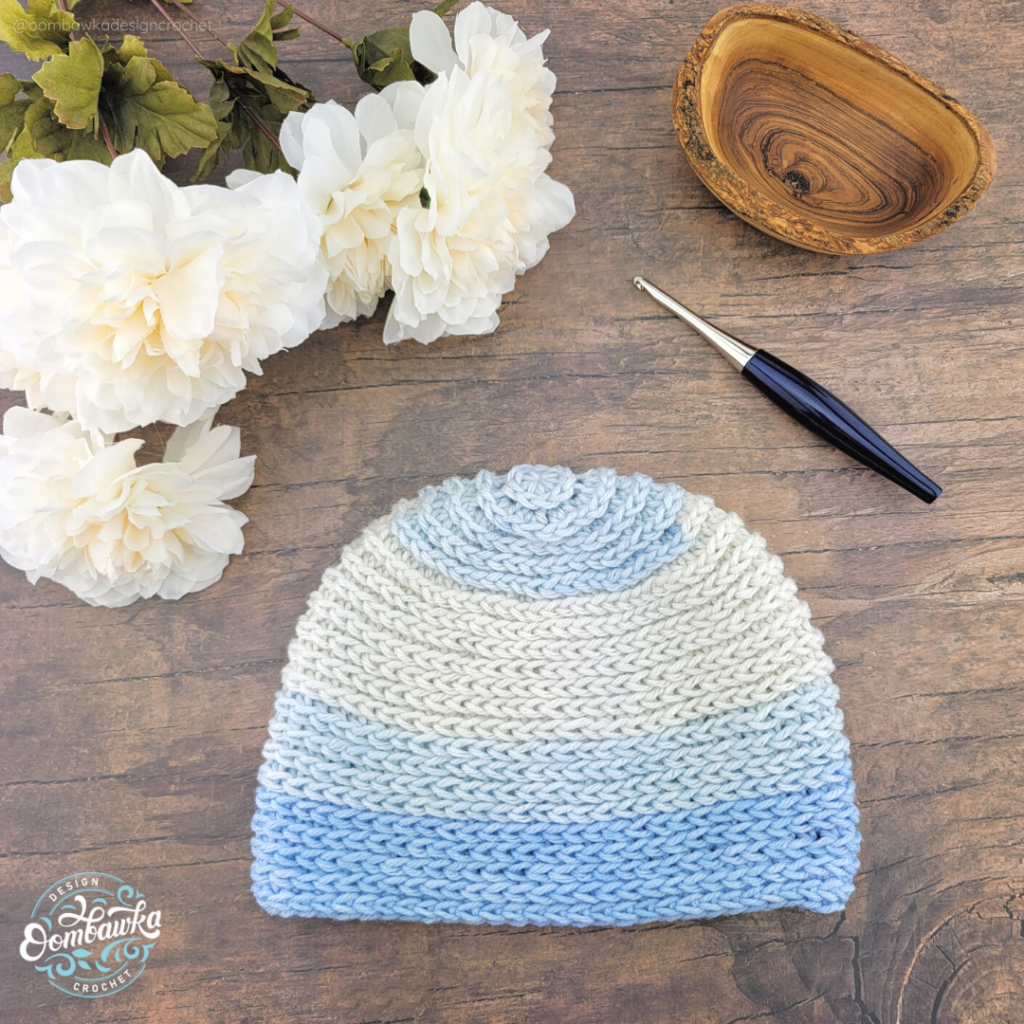
Pattern (free): Get it Together Hat
You can create Ridge Stitches by
- working under the back loop (bl) of a stitch
- working under the front loop (fl) of a stitch
- working under a horizontal bar of a stitch
- working under the back bump of the chain stitch
Different effects can be created, depending upon which loop you work under – some create a very distinct ridge (i.e. horizontal bar) while others make a more subtle ridge (i.e. working under the back loop). Ribbed fabrics are created by working under one loop of each stitch. The resulting fabric is stretchy and textured.
Note: When you work around the post of a stitch, this is called a raised crochet stitch. It is also a great way to create texture in your project.
How to Crochet Ridge Stitches – The Tutorials
How to Crochet the Front Ridge Stitch
How to Crochet the Front Ridge Stitch by The Crochet Crowd is a tutorial demonstrating how to create the Front Ridge Stitch. This stitch involves working into the front loops of the crochet fabric, resulting in a textured, horizontal ridge effect. The technique is suitable for adding visual interest and texture to various crochet projects, such as blankets and scarves. Watch the video on YouTube here.

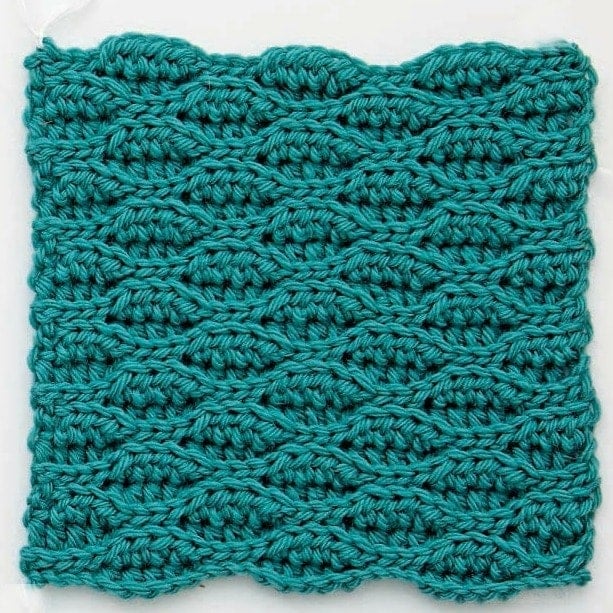
How to Crochet the Royal Ridge Stitch
This stitch creates a textured, ridged fabric by working into the loop below the top of each stitch, resulting in a dense and durable cloth. Find the free pattern for the Royal Ridge Stitch Dishcloth here.

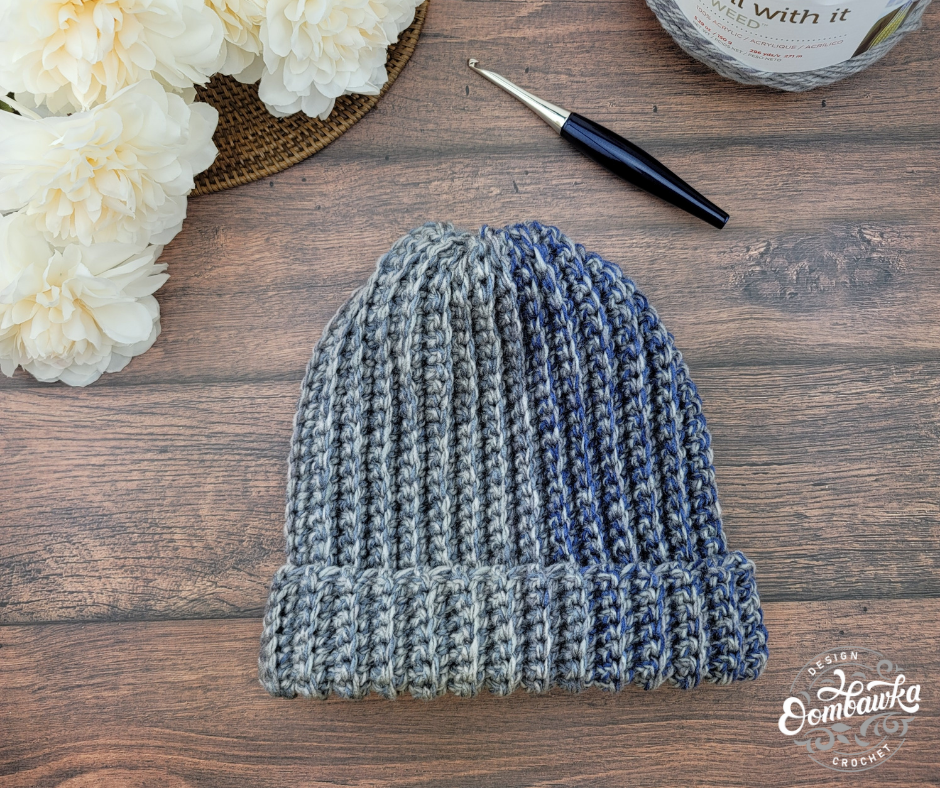
How to Crochet the Ribbing Stitch
This stitch pattern creates a fabric with a ribbed texture, making it suitable for areas where stretch and structure are needed. Like a hat brim or cuff for a sweater. Find the written instructions here.

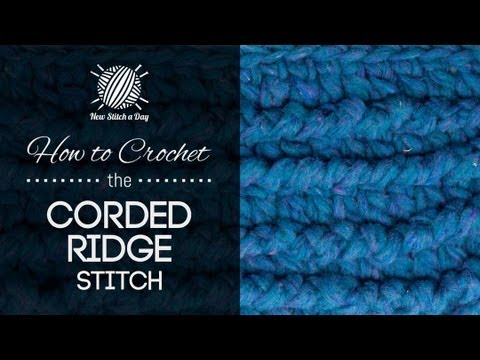
How To Crochet the Corded Ridge Stitch
The Corded Ridge Stitch is a textured crochet pattern featured on New Stitch A Day. It creates a raised, corded effect by alternating rows of double crochet and single crochet worked into specific loops. This stitch is ideal for projects like afghans, baby blankets, and scarves, offering both visual interest and a solid fabric. You’ll find the full instructions here.
How to Crochet the Ribbed Half Double Crochet Stitch
The tutorial on Yarn + Chai introduces the Ribbed Half Double Crochet Stitch (RibHDC), a simple variation of the standard half double crochet (HDC) stitch that creates a textured, faux-knit appearance. This technique involves working into the third loop—located just below the top two loops—of each HDC stitch. By doing so, the top loops are pushed forward, forming a ribbed effect on the opposite side of the fabric. This stitch offers a less bulky alternative to front/back post or front/back loop methods, providing a clean and elegant texture. Find the full tutorial here: Ribbed Half Double Crochet Stitch
How to Crochet the Single Crochet Rib Stitch
The Crocheted Rib Cowl from Purl Soho is a beginner-friendly crochet pattern that produces a cozy, knit-look cowl using simple single crochet stitches worked in the back loop only. This technique creates a ribbed texture that mimics knitted fabric, making it a great project for crocheters seeking a classic, wearable accessory. Learn how to crochet the stitch and get the free pattern here.
How to Crochet the Low Back Ridge (LBR) Stitch
The video titled “How to Crochet the Low Back Ridge (LBR)” is a tutorial demonstrating the Low Back Ridge crochet technique. This method involves working into the back ridge of the foundation chain, resulting in a clean, professional-looking edge that mirrors the top of the crochet fabric. It’s particularly useful for projects where a neat starting edge is desired, such as scarves, blankets, and garments.
The tutorial provides step-by-step instructions, making it accessible for both beginners and experienced crocheters looking to refine their techniques. Watch the full video on YouTube here.
How to Crochet Single Crochet Ribbing
The video titled “Single Crochet Ribbing” is a crochet tutorial demonstrating how to create a ribbed texture using single crochet stitches. The technique involves working into the back loop only (BLO) of each stitch, which produces a flexible, knit-like ribbing. This method is ideal for adding stretch and structure to various crochet projects, such as hat brims, cuffs, waistbands, and scarves.
The tutorial provides step-by-step instructions, making it accessible for both beginners and experienced crocheters looking to enhance their skills. Watch the full tutorial on YouTube here.

How to Crochet the Corded Ridge Stitch
The video titled “How to Crochet the Corded Ridge Stitch” by Bella Coco Crochet is a tutorial that demonstrates how to create the Corded Ridge Stitch, a textured crochet pattern. This stitch involves working into specific loops to produce a raised, corded effect, adding depth and interest to your crochet projects. It’s suitable for various items like blankets, scarves, and other accessories where texture is desired.
The tutorial provides step-by-step instructions, making it accessible for both beginners and experienced crocheters looking to expand their stitch repertoire. You can watch the full tutorial here.

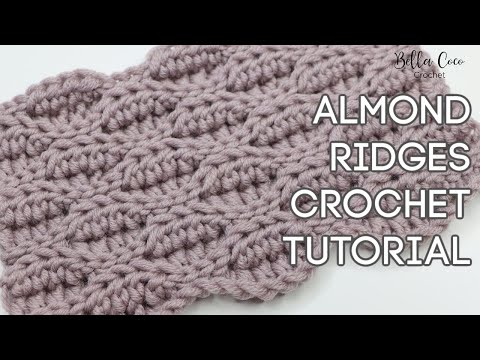
How to Crochet the Almond Ridges Stitch
The Almond Ridges Stitch tutorial by Bella Coco Crochet offers a free, step-by-step guide to creating a textured crochet pattern that combines slip stitches and half treble crochets (UK terms) in a four-row repeat. This stitch produces a raised, corded effect, making it ideal for projects like blankets, garments, and accessories. The tutorial includes both written instructions and video demonstrations for right- and left-handed crocheters.
For the full tutorial and pattern, visit: How to Crochet Almond Ridges Stitch: Free Pattern
You May Also Enjoy These Posts:
You may enjoy this book: Melissa Leapman’s Indispensable Stitch Collection for Crocheters: 200 Stitch Patterns in Words and Symbols
It includes the Almond Ridge Stitch Tutorial and diagram.
About Rhondda Mol
Rhondda Mol is the crochet designer and blogger behind Oombawka Design Crochet. Since 2012, she has shared free crochet patterns, tutorials, and tips to help crocheters learn new skills with confidence. Through her easy-to-follow designs and clear instructions, Rhondda makes crochet enjoyable, accessible, and inspiring for makers of all levels.