How to Crochet a Slip Knot Ring
Tutorial skill level: Beginner
When you purchase through links on my site, I may earn an affiliate commission. Here’s how it works.
Learn how to crochet a slip knot ring to start your crochet projects that are worked in rounds with this video tutorial from Oombawka Design Crochet.
How to Crochet a Slip Knot Ring
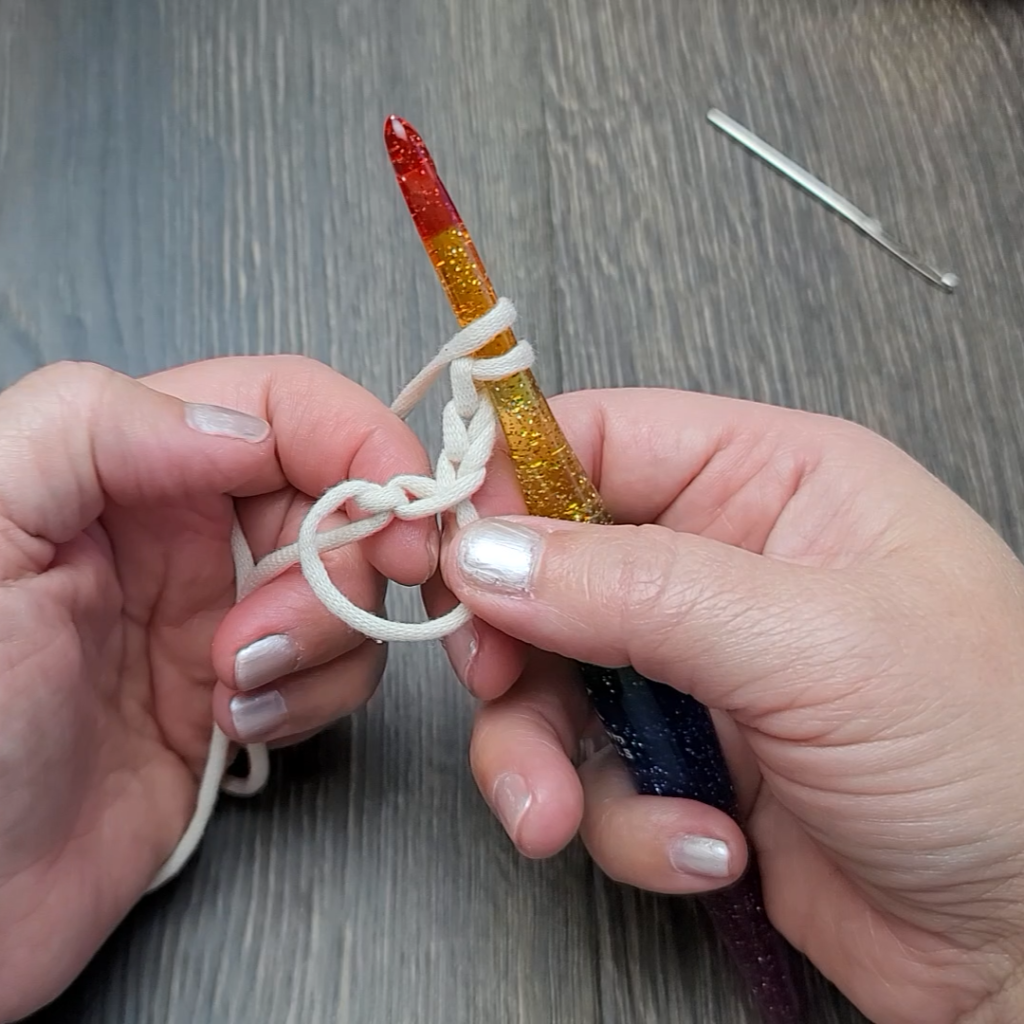
- Leave a 4 to 6 inch yarn tail and create a large slip knot ring.
- Slip stitch once into the ring.
- Chain 1, 2, 3 or 4 chains (1=single crochet, 2=half double crochet, 3=double crochet and 4=treble crochet).
- Follow the instructions for Round 1 of your project, making each stitch into the ring you created.
- Turn your project over and sew in the yarn tail to tighten and close the slip knot ring.
- Follow the pattern as written.
You can use this method to start your projects that are crocheted in rounds, instead of using a magic circle (magic ring or double magic ring).
Watch my quick video demonstration to see how it’s done.
Yarn: Bernat Maker Home Dec. #yarnspirations
Crochet Hook: Furls Streamline Pride Glitter. #furlscrochet
You may also enjoy these posts:
- How to Crochet the Iris Stitch
- How to Crochet the Double Treble Stitch
- How to Crochet the Triple Treble Stitch
Watch the Video Tutorial Below:

About Rhondda Mol
Rhondda Mol is the crochet designer and blogger behind Oombawka Design Crochet. Since 2012, she has shared free crochet patterns, tutorials, and tips to help crocheters learn new skills with confidence. Through her easy-to-follow designs and clear instructions, Rhondda makes crochet enjoyable, accessible, and inspiring for makers of all levels.